Staff Guest Intake
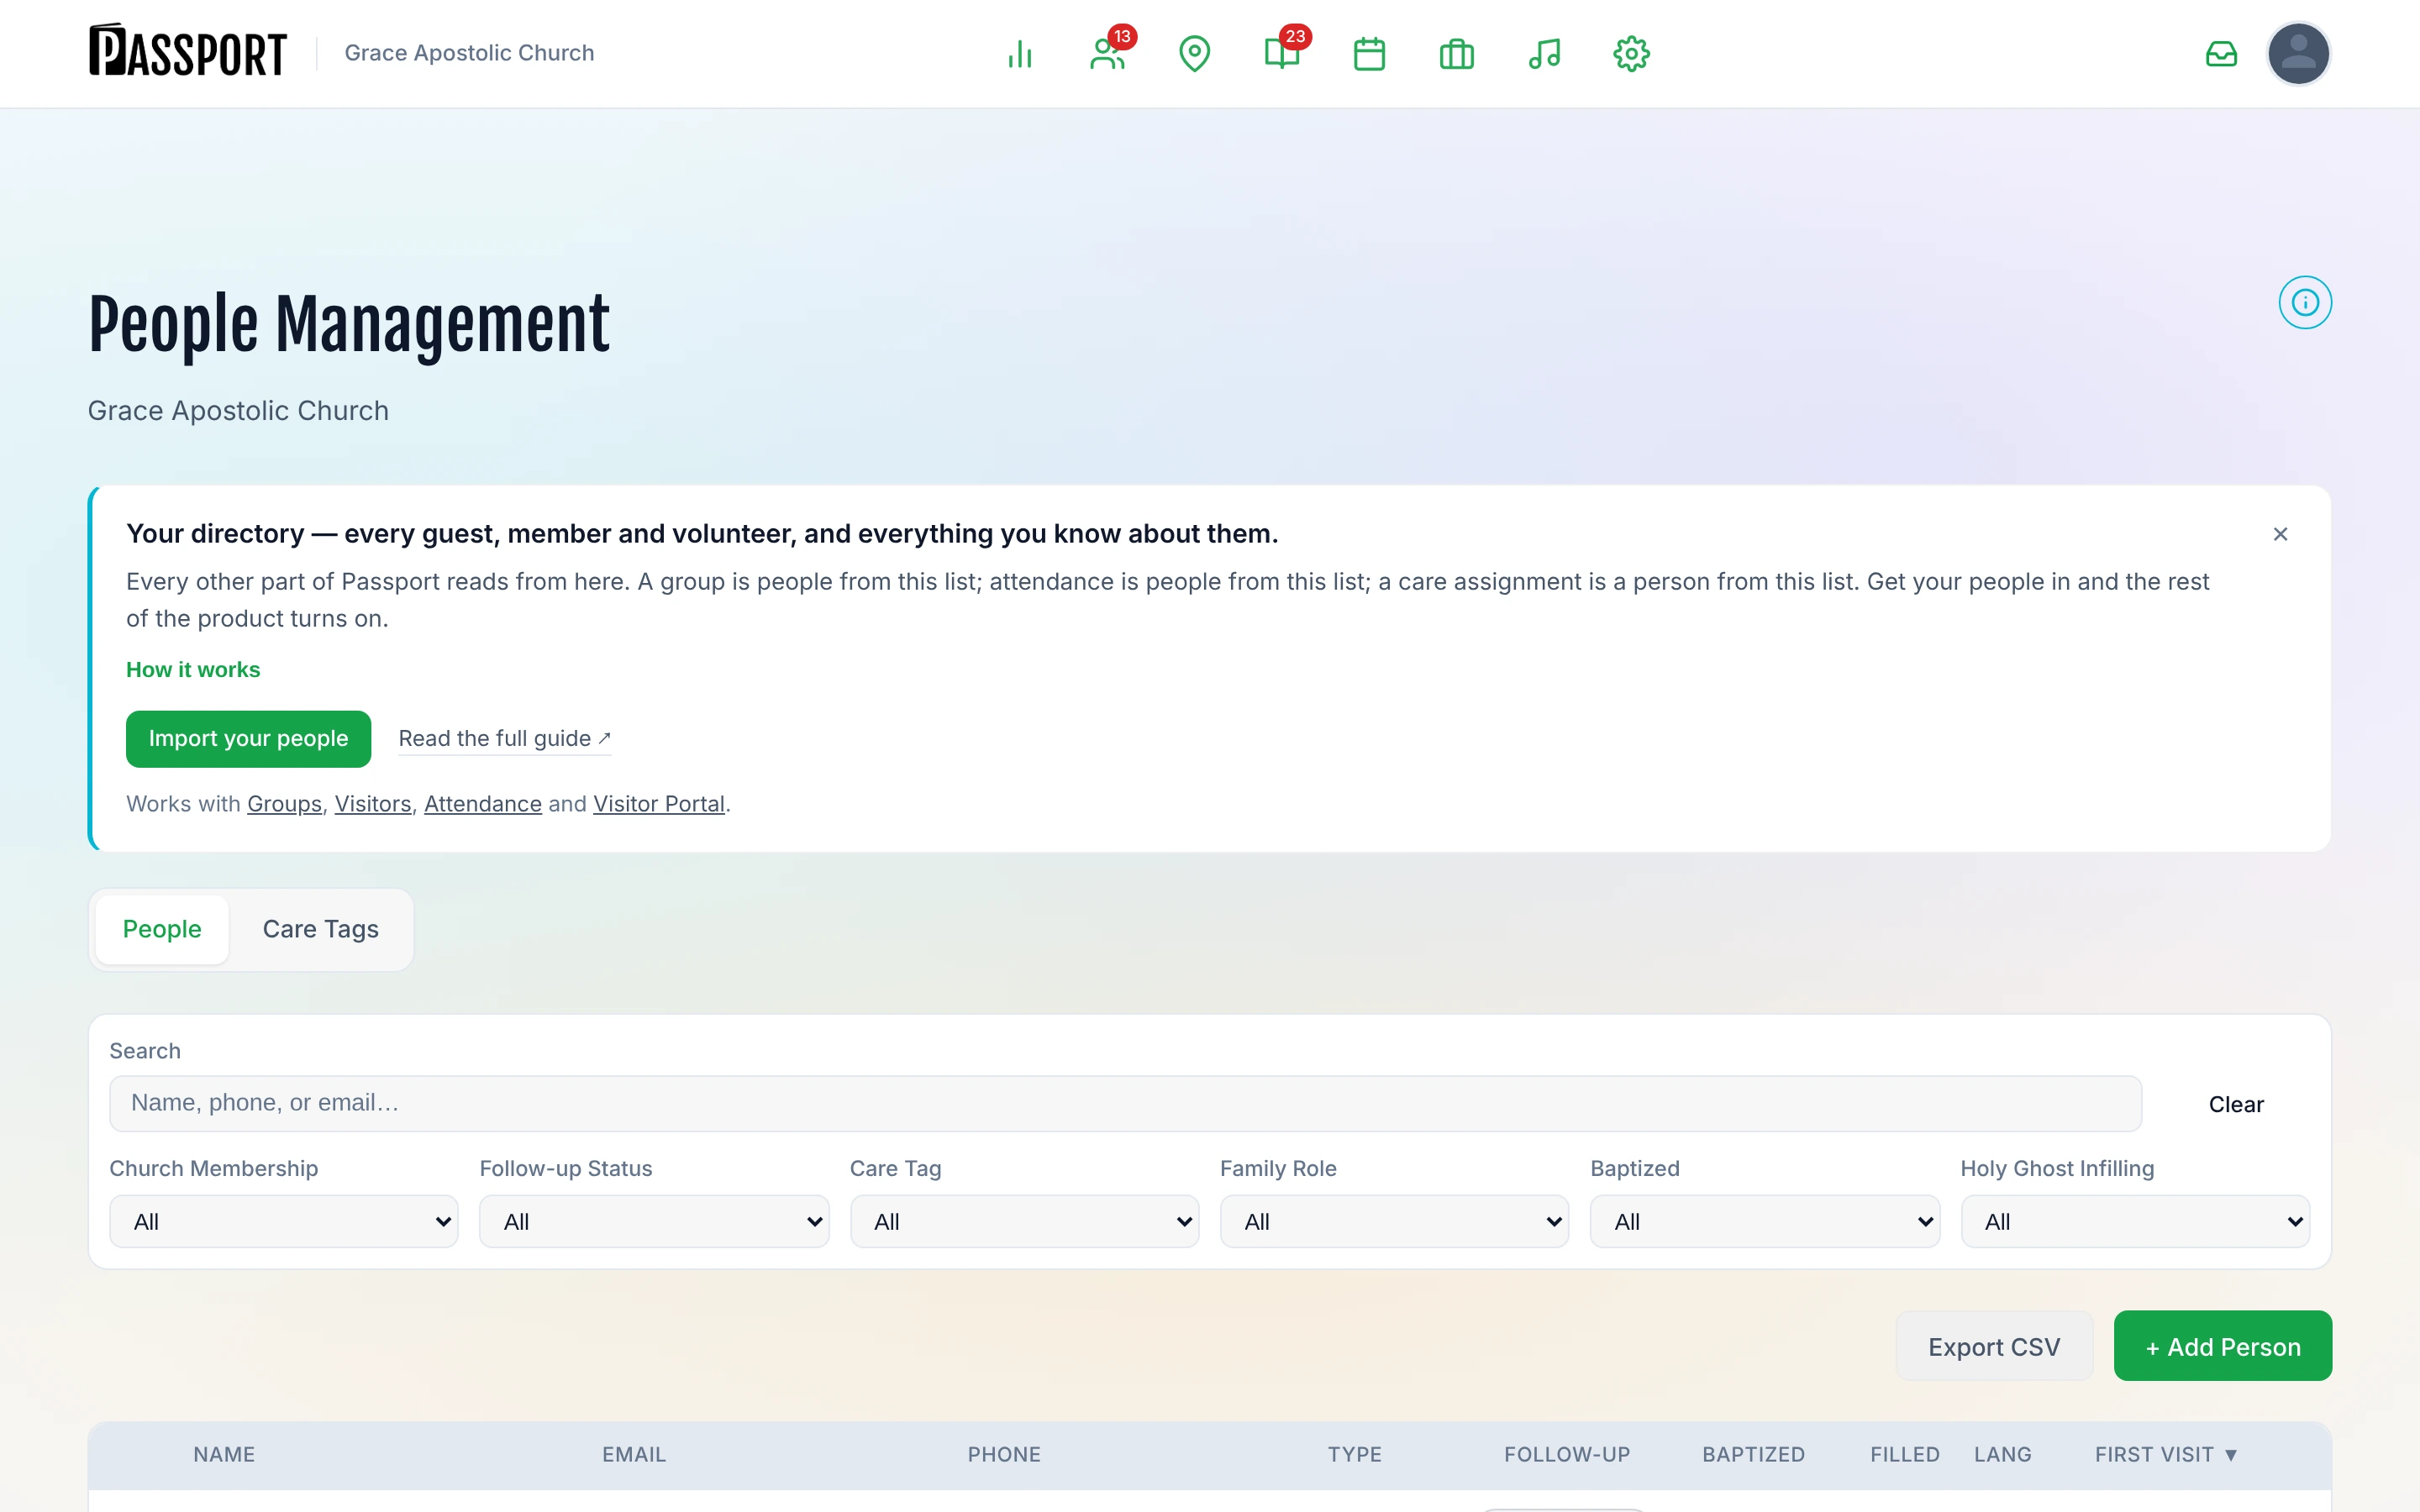
Guest Intake is the staff-facing form for registering visitors and their families when they arrive for a service. Staff open it at the welcome desk, greeting station, or on a tablet at the door. Guests never need to touch the device.
For a guest-facing self-service option, see Visitor Connection Card.
What you need
- A Passport account with People: Create permission
Open the intake form
In the main navigation, select People, then select Intake.
The direct URL is /register.
Choose Full or Simple mode
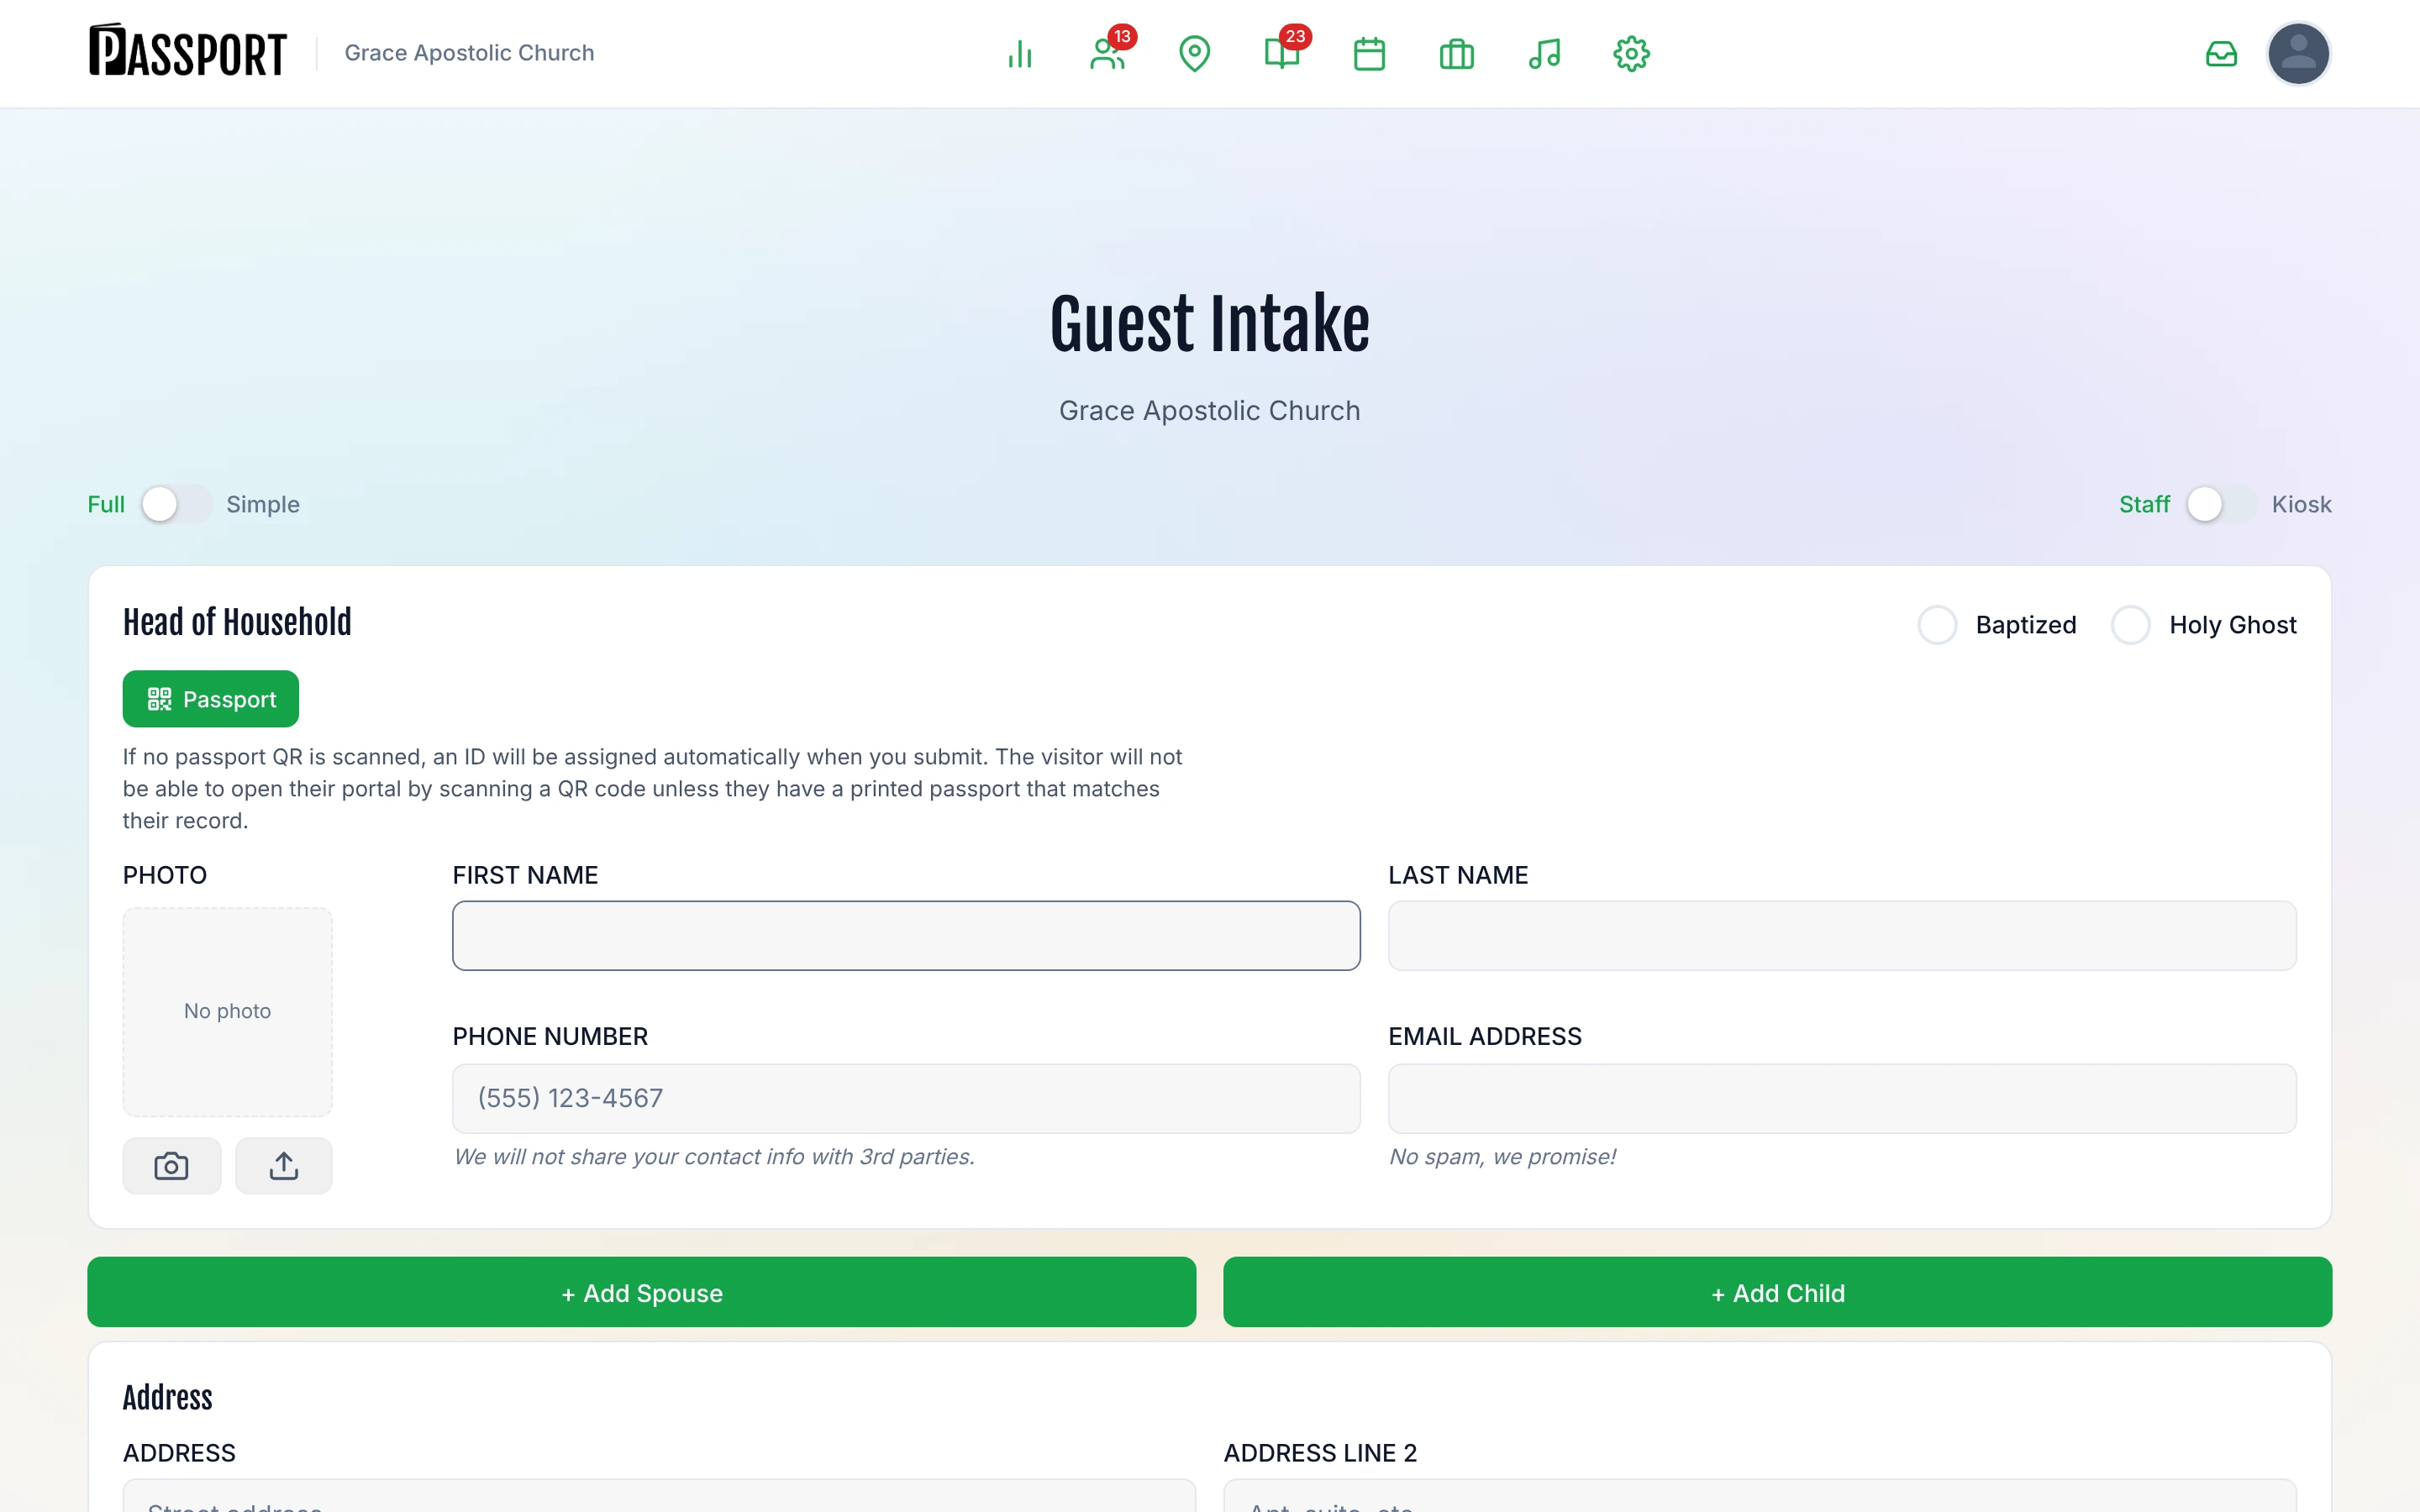
A toggle at the top of the page lets you switch between two modes. Passport remembers your last-used mode.
| Mode | What it collects | Best for |
|---|---|---|
| Full | Name, phone, email, address, spiritual milestones, photo, passport QR, all additional fields | Normal intake at a welcome desk |
| Simple | First name, last name, phone | Fast intake at a door or during a service |
Click the Full / Simple toggle to switch. You can also force a mode via URL: /register?mode=full or /register?mode=simple.
Register a guest
Head of household
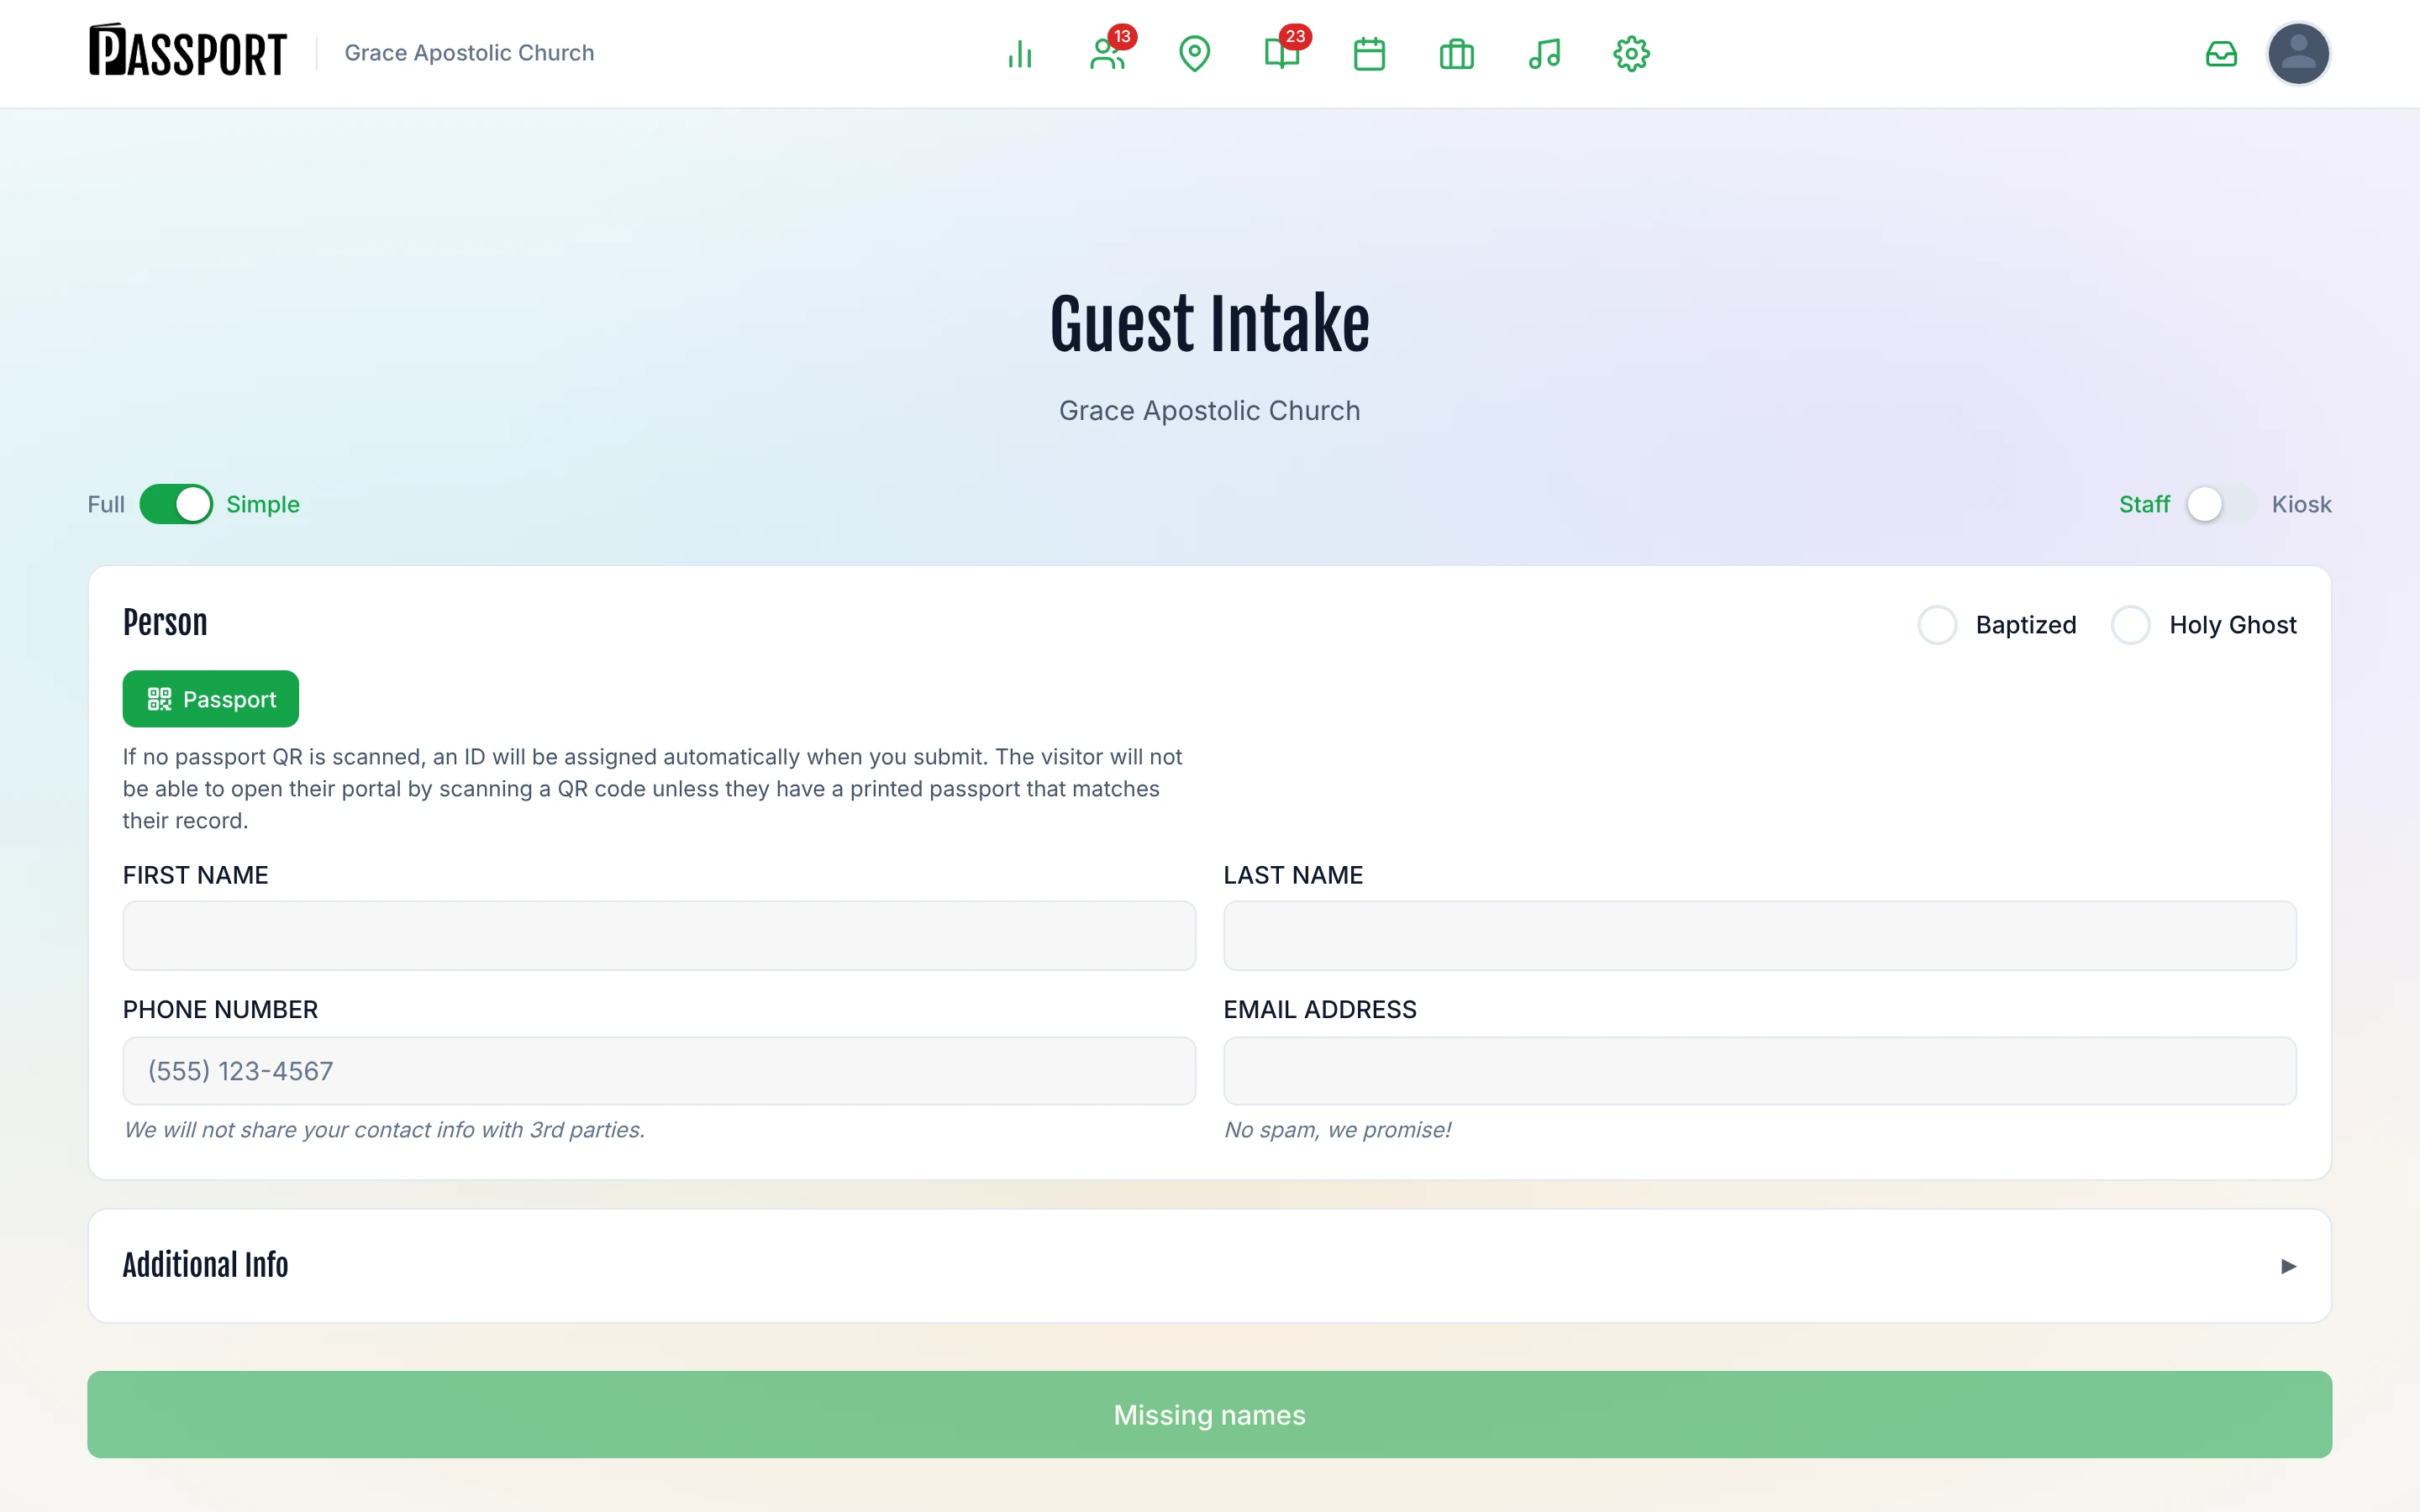
Fill in the first person's information. In Full mode the section is labeled Head of Household; in Simple mode it is labeled Person.
Full mode fields:
- First name (required), last name
- Phone number, email address
- Home address (street, city, state, ZIP)
- Baptized and Holy Ghost checkboxes
- Photo (camera capture or upload)
Simple mode fields:
- First name (required), last name, phone number
Add a spouse
Click Add spouse to add a second adult. Fill in their name and, in Full mode, their contact details and spiritual milestones. To remove the spouse, click Remove next to the Spouse heading.
Add children
Click Add child to add a child record. Enter the child's first and last name, date of birth, and spiritual milestone checkboxes.
Assign a passport QR
If your church issues physical passport cards with printed QR codes, use the Passport button next to each person's name to scan their card.
- Click Passport next to the person's name.
- The Scan Passport modal opens. Hold the card's QR code up to the camera.
- When the code is read, the modal closes and the button changes to Re-issue to show the scan was successful.
If no QR code is scanned, Passport assigns a digital ID automatically when you submit. The person's portal will work, but they will not be able to scan a physical card to open it unless you print one later.
Duplicate detection
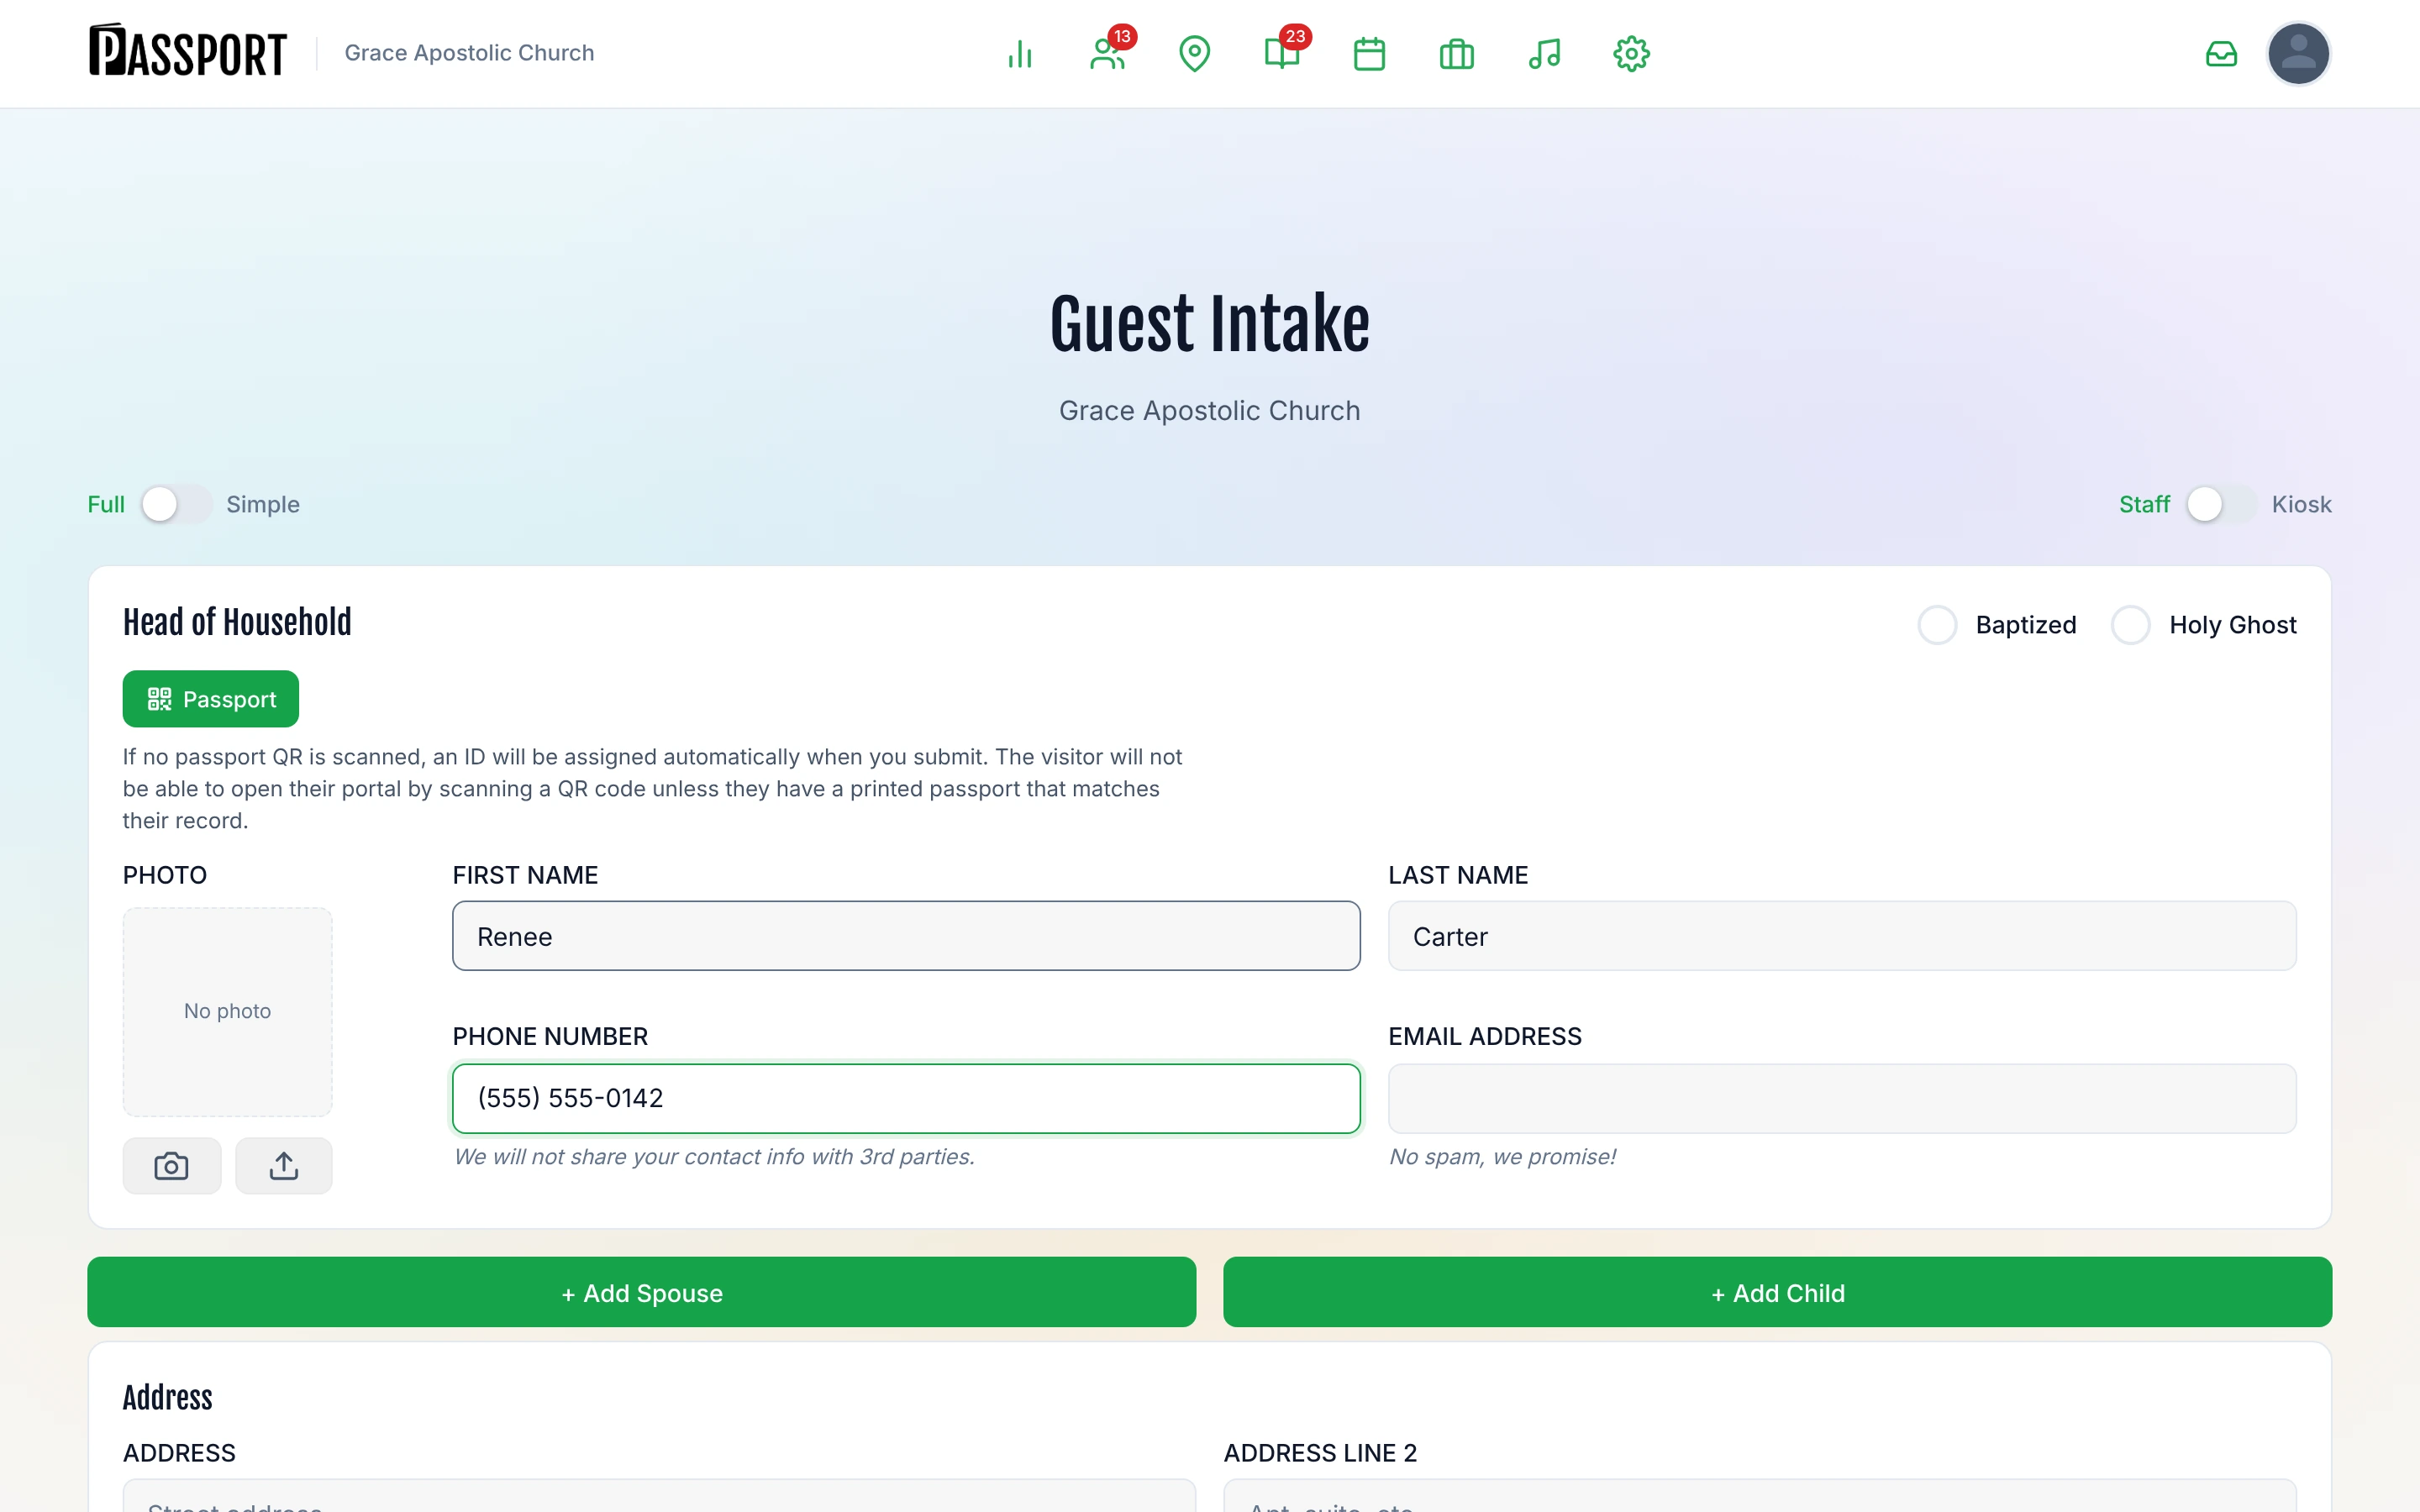
As you type the first adult's name and phone number, Passport quietly checks for anyone registered in the last 24 hours who matches.
If a match is found, a dialog appears:
| Button | What it does |
|---|---|
| Edit existing record | Navigates to the existing person's profile so you can update it |
| Continue and create new person | Dismisses the warning and continues the current intake as a new record |
Use Edit existing record when the same person is checking in again. Use Continue and create new person when two people happen to share a name or phone.
Additional information (Full mode)
The Additional Info section is collapsed by default in Simple mode and expanded in Full mode. It captures follow-up context:
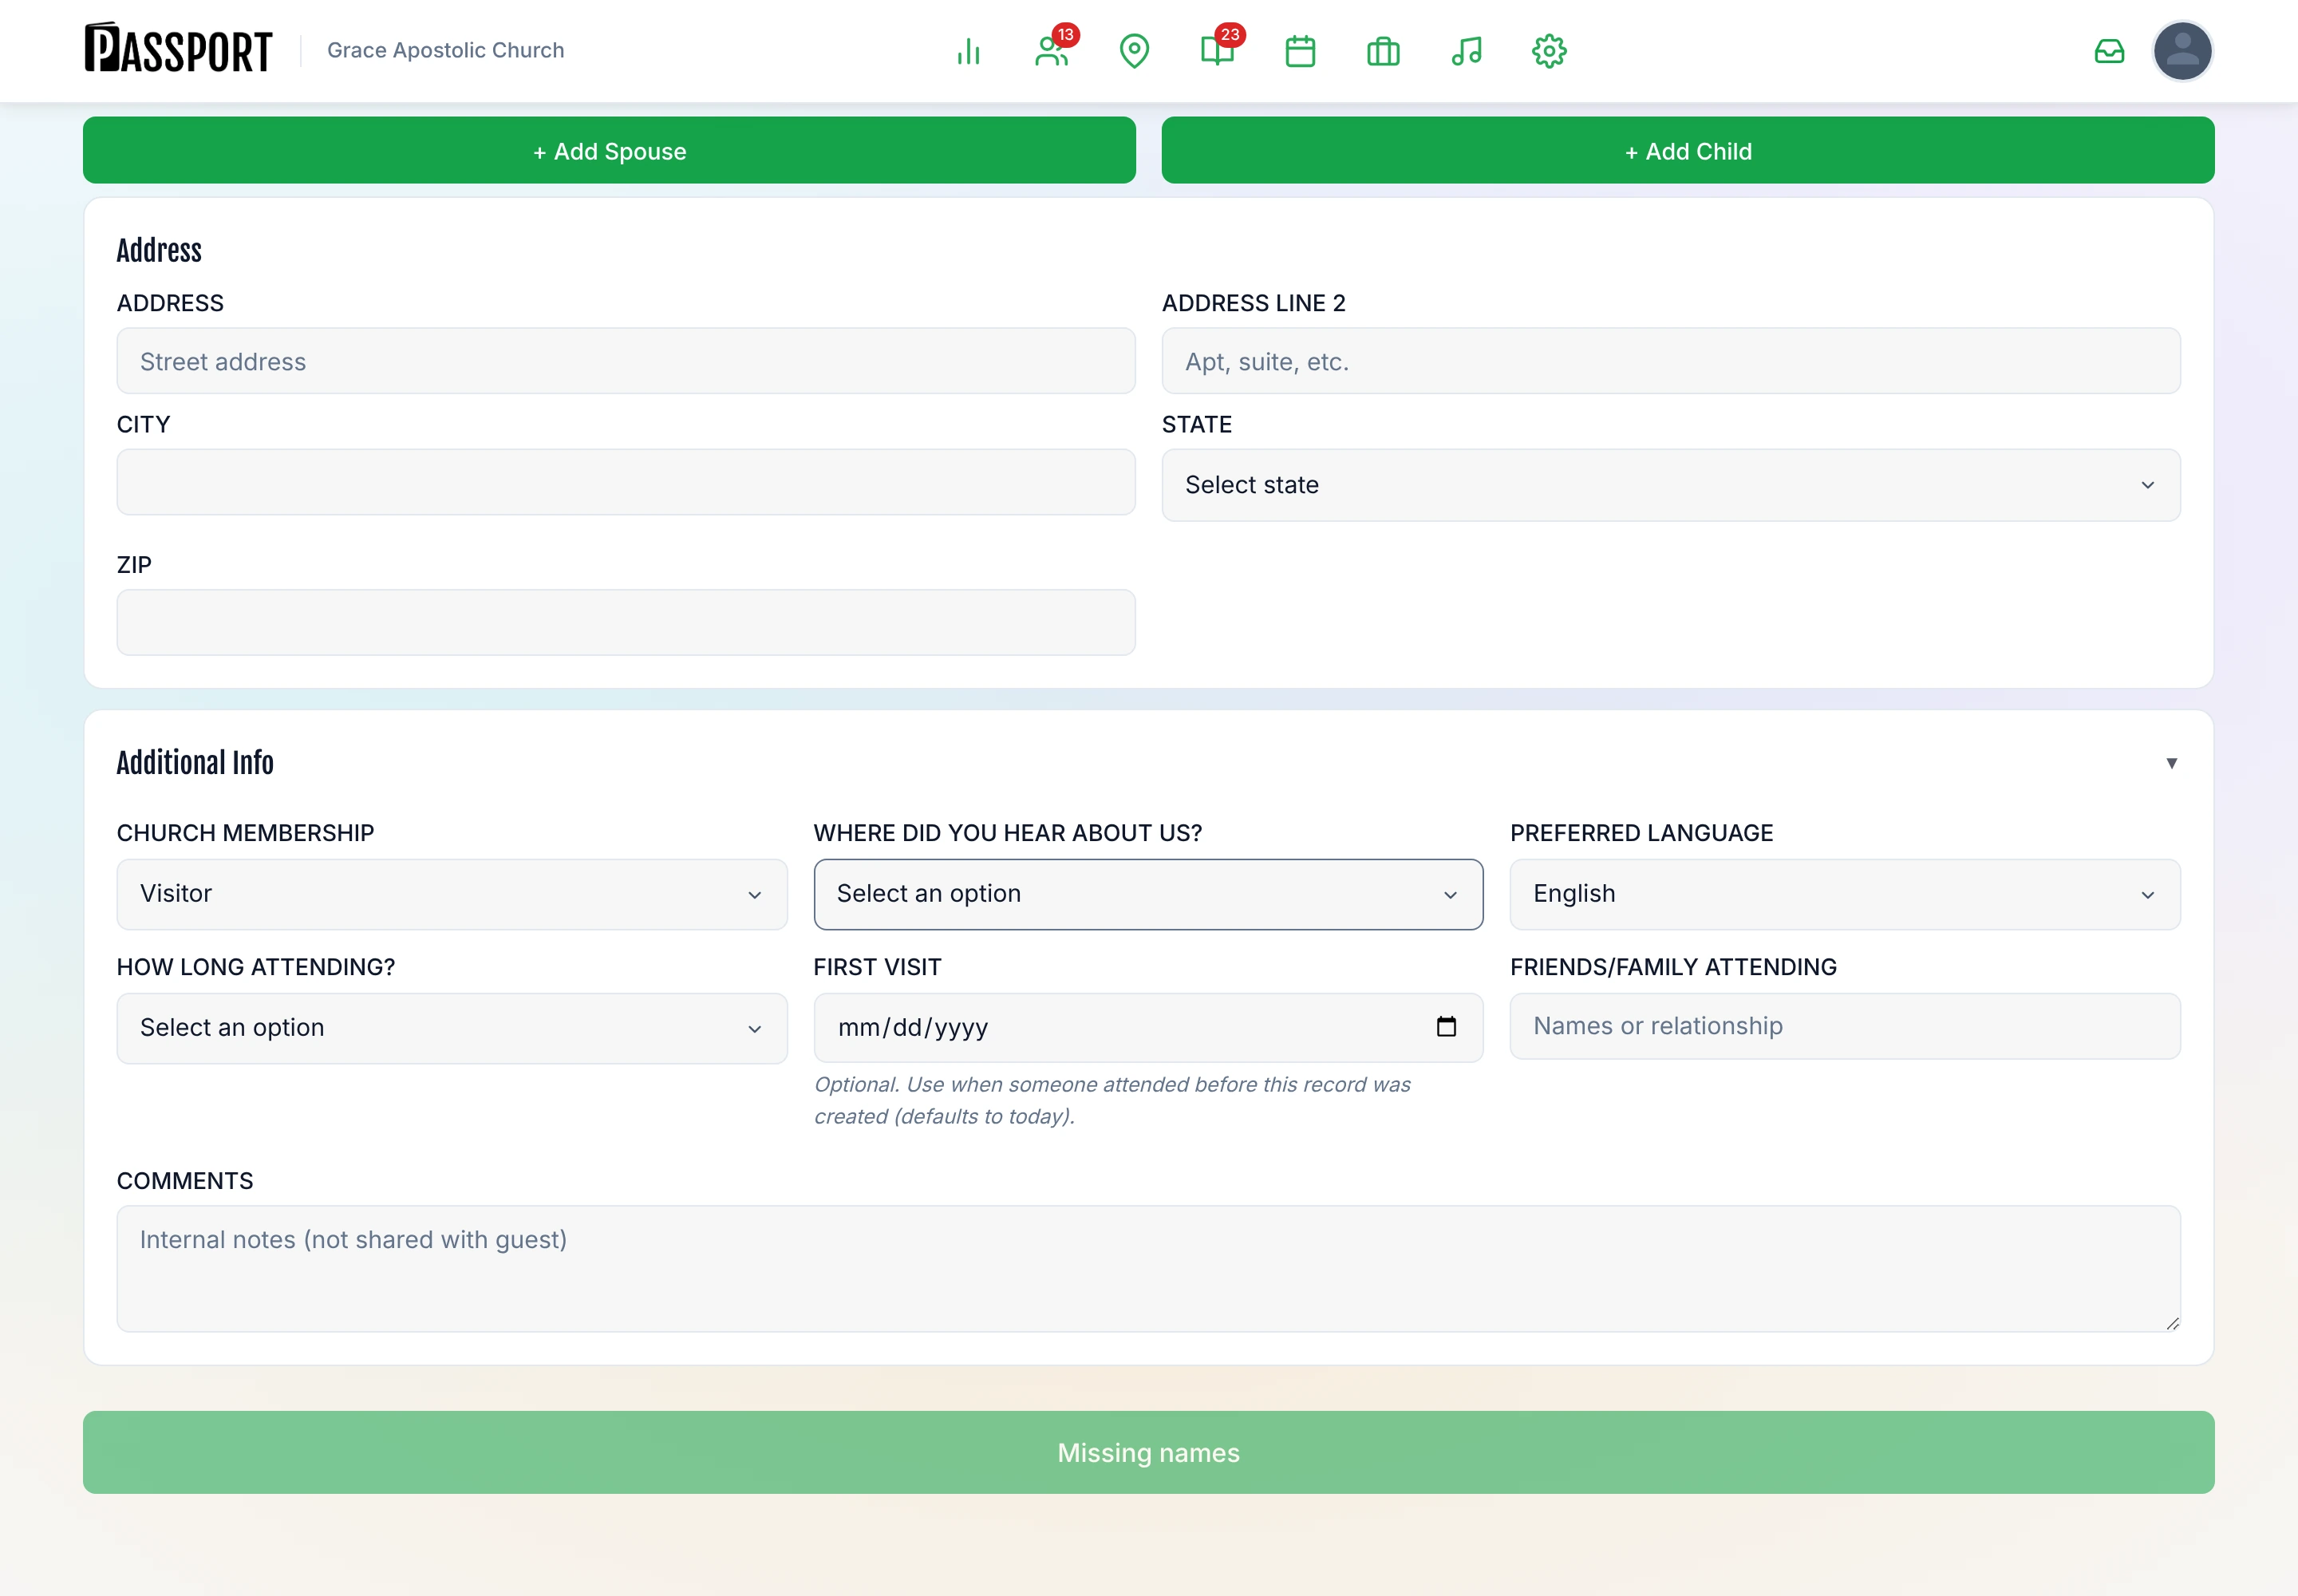
| Field | What to enter |
|---|---|
| Church Membership | Visitor, Attendee, Member, or Prospect |
| Where did you hear about us? | Facebook, Instagram, Door Hanger, Direct Mailer, Friend Invite, Signs, or Other |
| Preferred Language | English or Spanish |
| How long attending? | First time, A few weeks, 1–3 months, 3–6 months, 6+ months, or Regular attender |
| First visit | Optional. Leave blank unless you are recording a past visit that already happened. On a service day, Passport stamps first visit automatically from attendance. |
| Friends/family attending | Free text for names or relationships |
Kiosk mode
Kiosk mode turns the intake page into a guest-facing fullscreen wizard. Use it on a tablet placed at the welcome area so guests can fill in their own information.
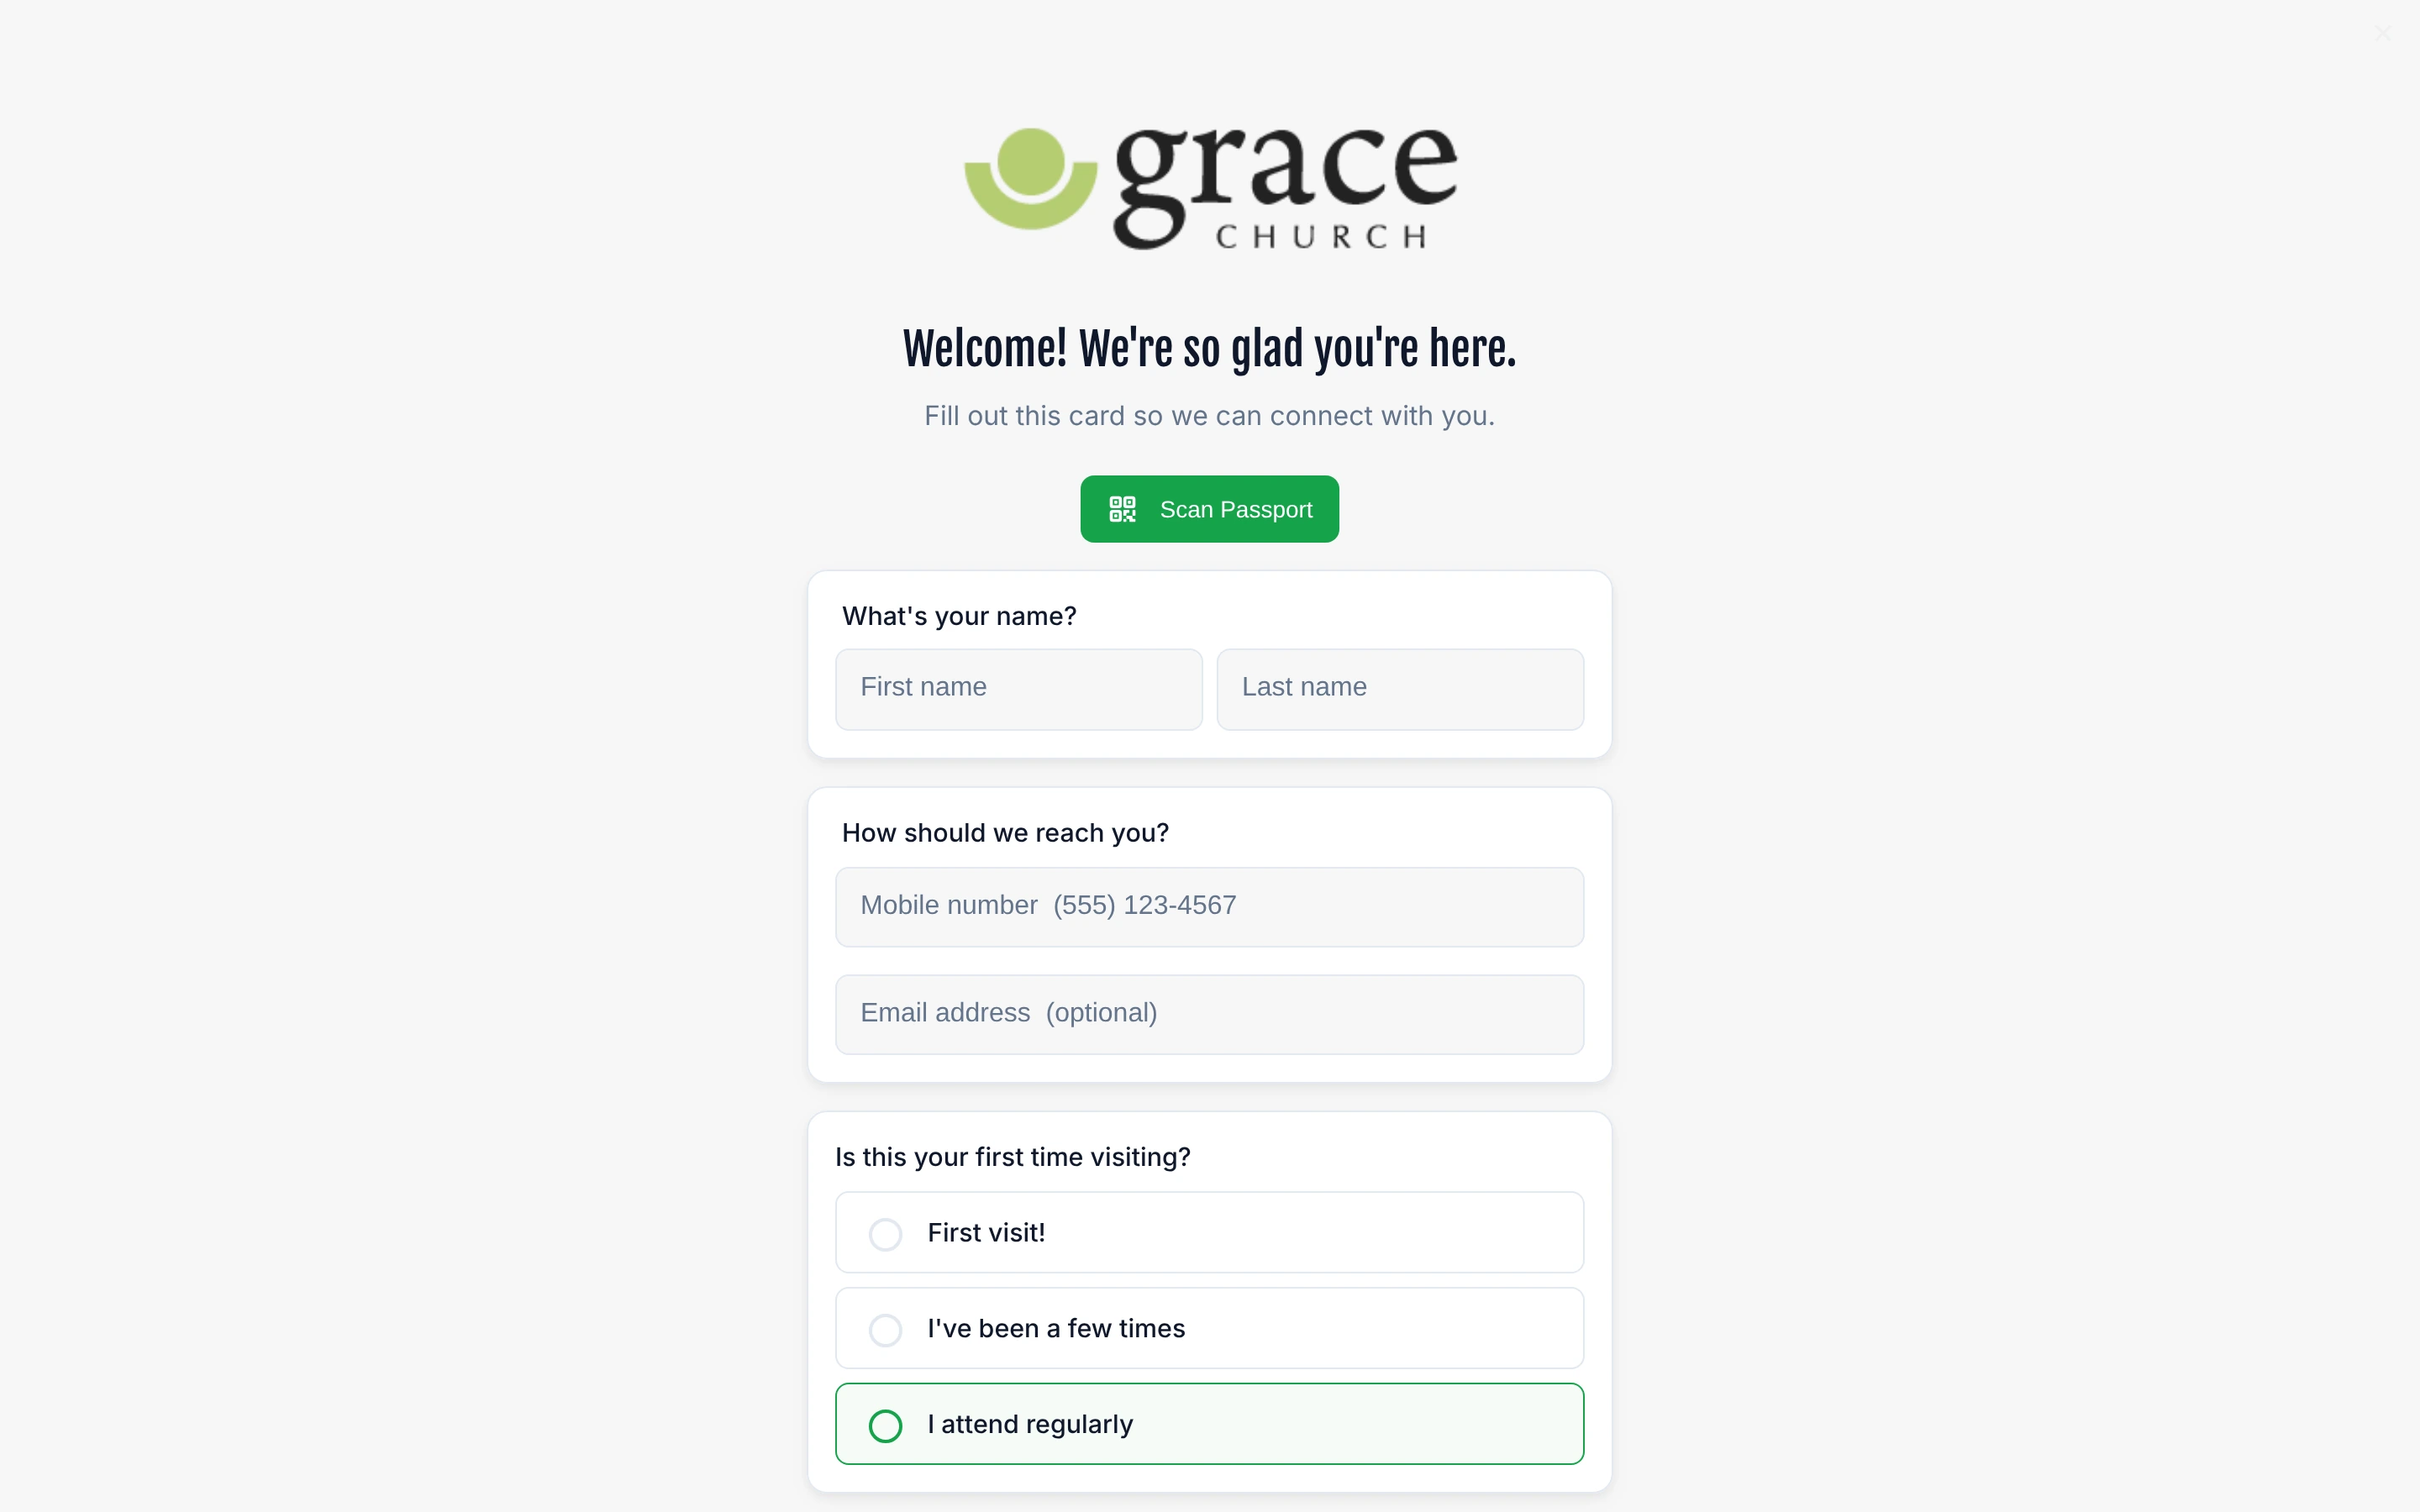
To enter kiosk mode:
- Click the Staff / Kiosk toggle at the top of the intake form, or
- Navigate directly to
/register?kiosk=true
The staff navigation disappears and guests see a multi-step wizard. When a guest finishes, the screen resets for the next person.
To exit kiosk mode:
- Tap the ✕ button in the top corner of the kiosk screen.
If your church always uses kiosk mode at a particular station, go to Admin → Settings → Preferences and set the default check-in method to Kiosk. The Intake nav item will then link directly to kiosk mode.
After submitting
When you click Submit Person:
- Passport creates records for the head of household and any added family members.
- Spiritual milestones (Baptized, Holy Ghost) are saved on each person's profile.
- The referral source and how-long-attending fields appear in your analytics.
- If a passport QR was scanned, the person's record is linked to that card.
If you submit during a service or later that same day, Passport also:
- Marks the household present for that service
- Stamps First visit when it is empty
- Puts the guest in the First visit column on the guest pipeline
- Opens the 48-hour personal follow-up care assignment
Guests typed in on a day with no service stay in Invited until they attend. That column is for people the church has met but who have not yet come to a service — not for walk-ins who were just standing in the foyer.
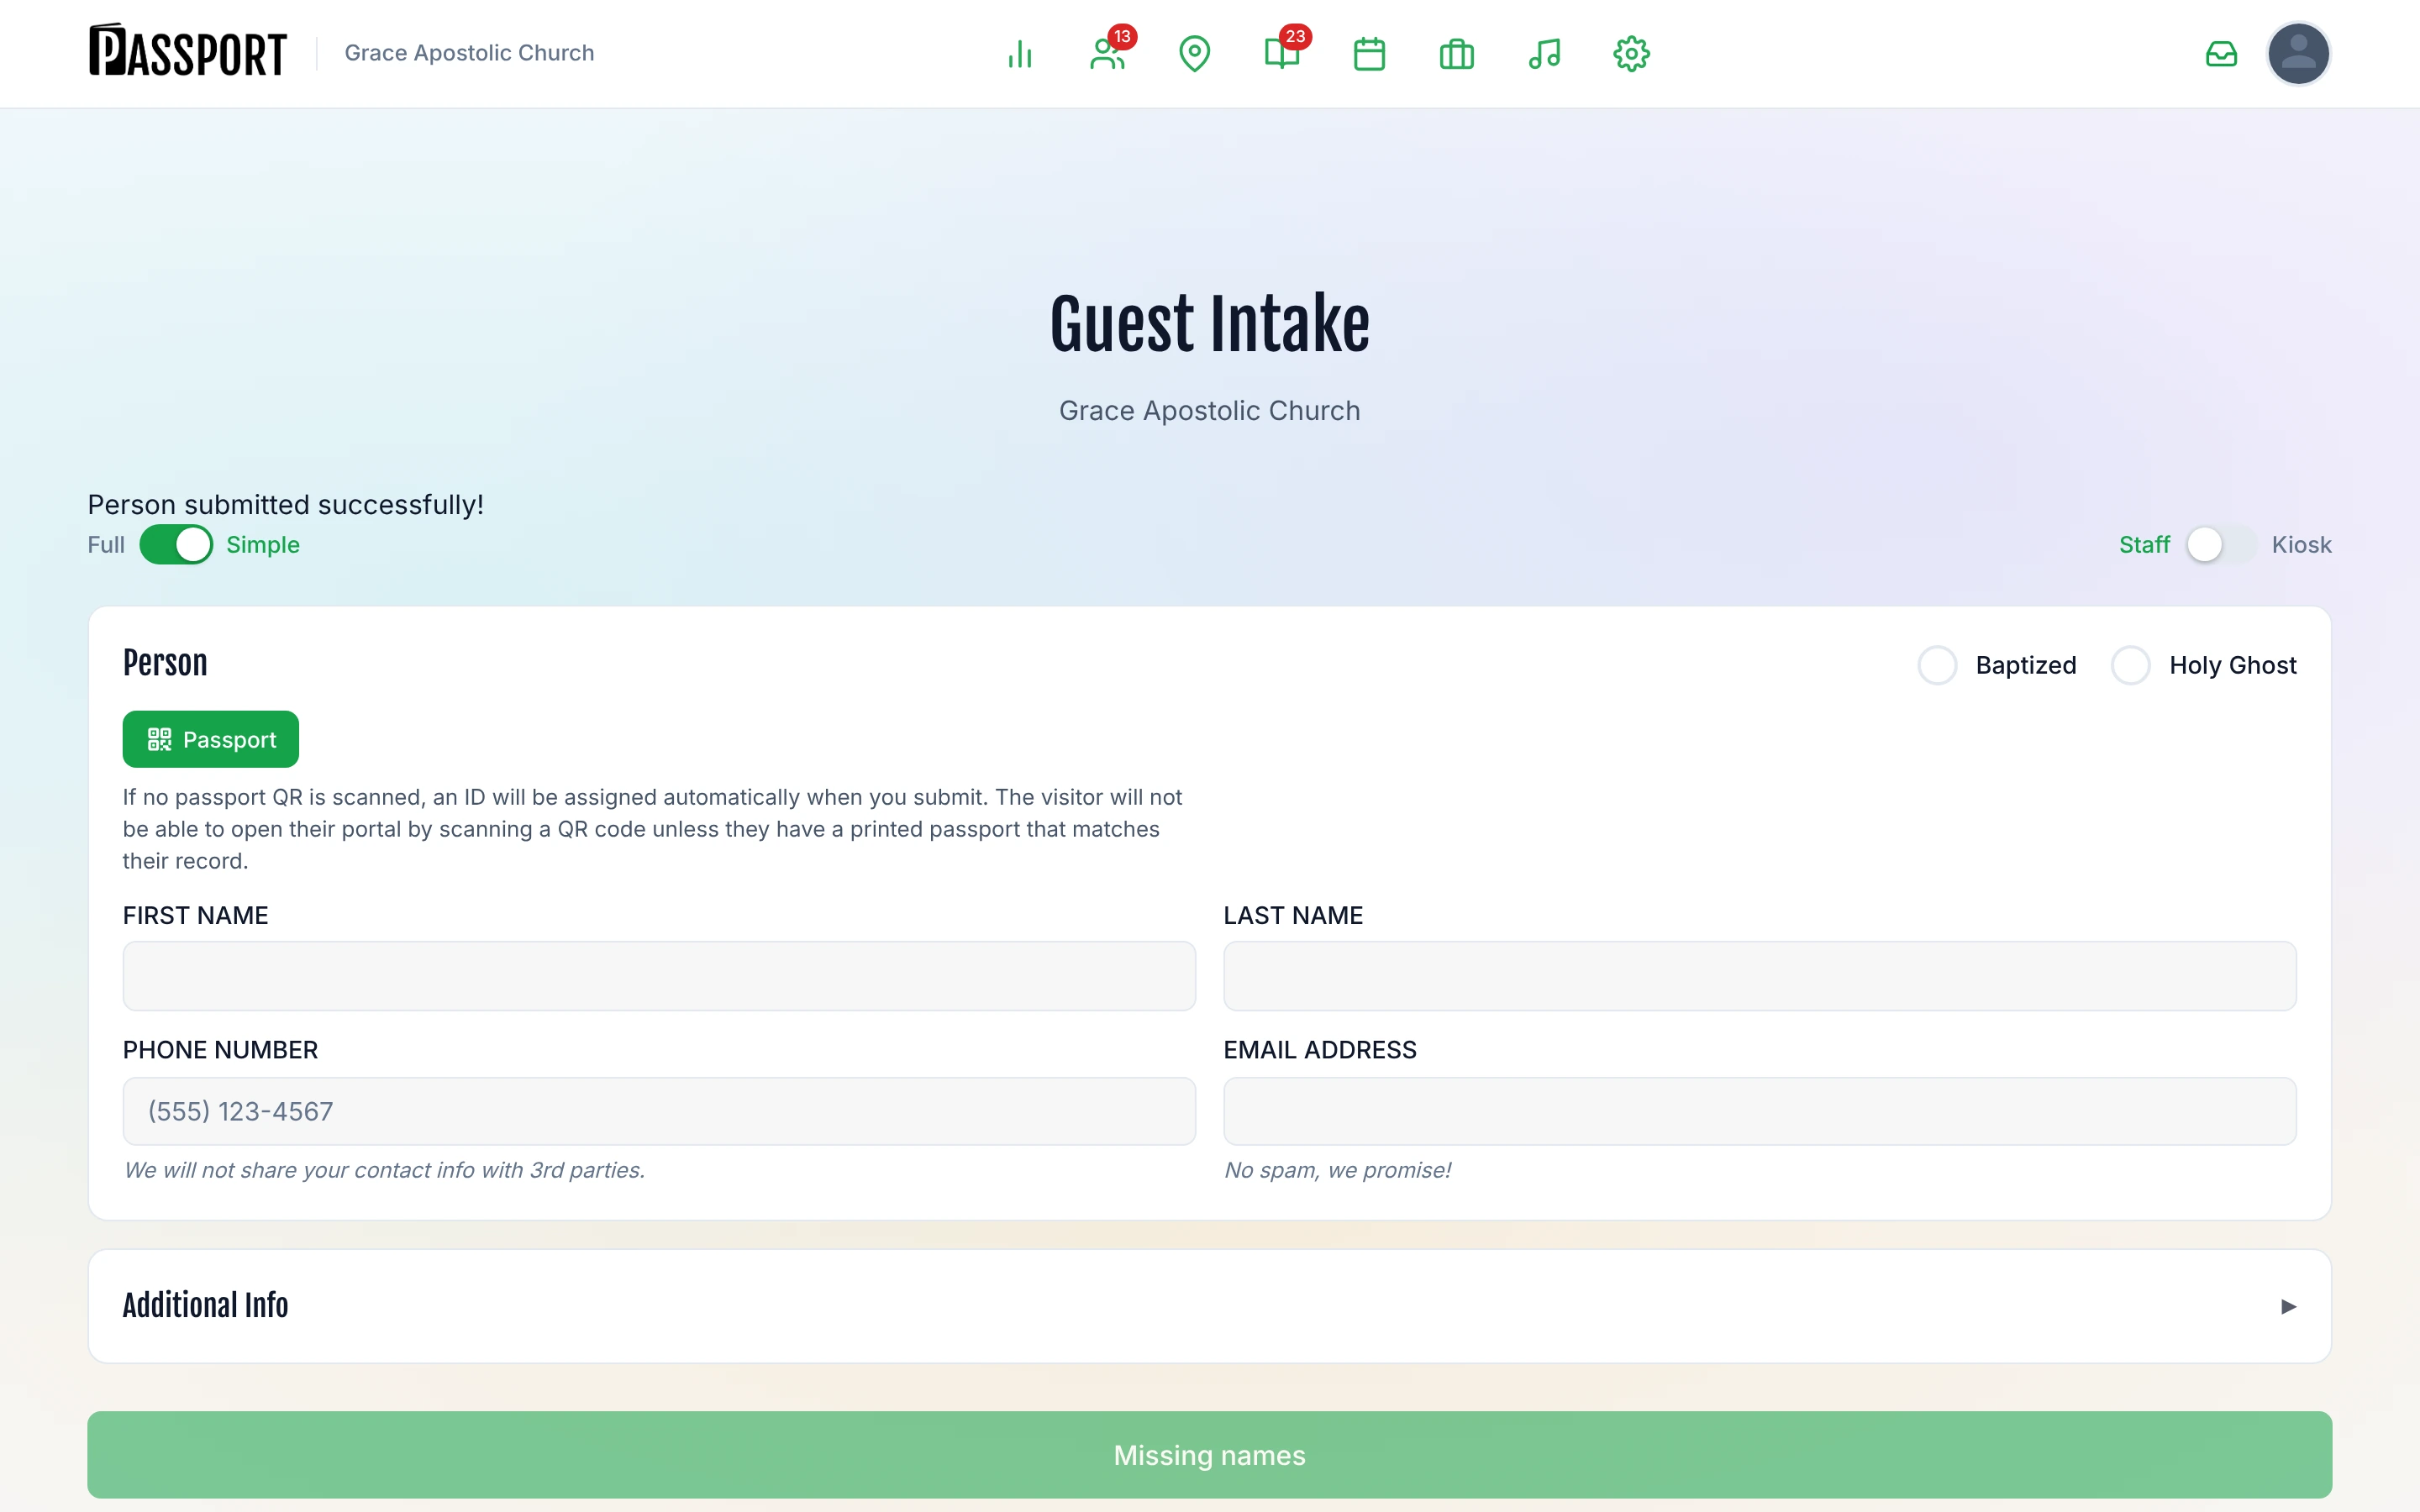
A green confirmation message appears at the top of the page. The form resets so you can register the next guest.
View today's guests
People → Visitors, on the Today tab.
Everyone connected with your church today is on one screen, in three groups:
- Expected — guests who planned a visit ahead of time and said they were coming.
- Arrived — the ones you have already marked as here.
- Walk-ins — guests who turned up without planning, including everyone who filled in a connection card or was registered at a kiosk today.
Each walk-in shows the guest's name, phone, email and the time they arrived. From each one you can Message them, Assign care, or open their Profile. The list refreshes on its own while you have it open.
:::note This replaced "Today's Visitors" Connection-card guests used to have a separate page. They now appear here beside everybody else expected that morning, so a greeter has one list to work from rather than two. The old link redirects here. :::
Next steps
- Follow up the same day — Guests who hear from the church within 24 hours are more likely to return. Use Pastoral Care to assign a follow-up.
- Set up the public connection card — For self-service check-in from guests' own phones, see Visitor Connection Card.
- Track the membership journey — Once a guest starts attending regularly, see Visitor-Member Path.